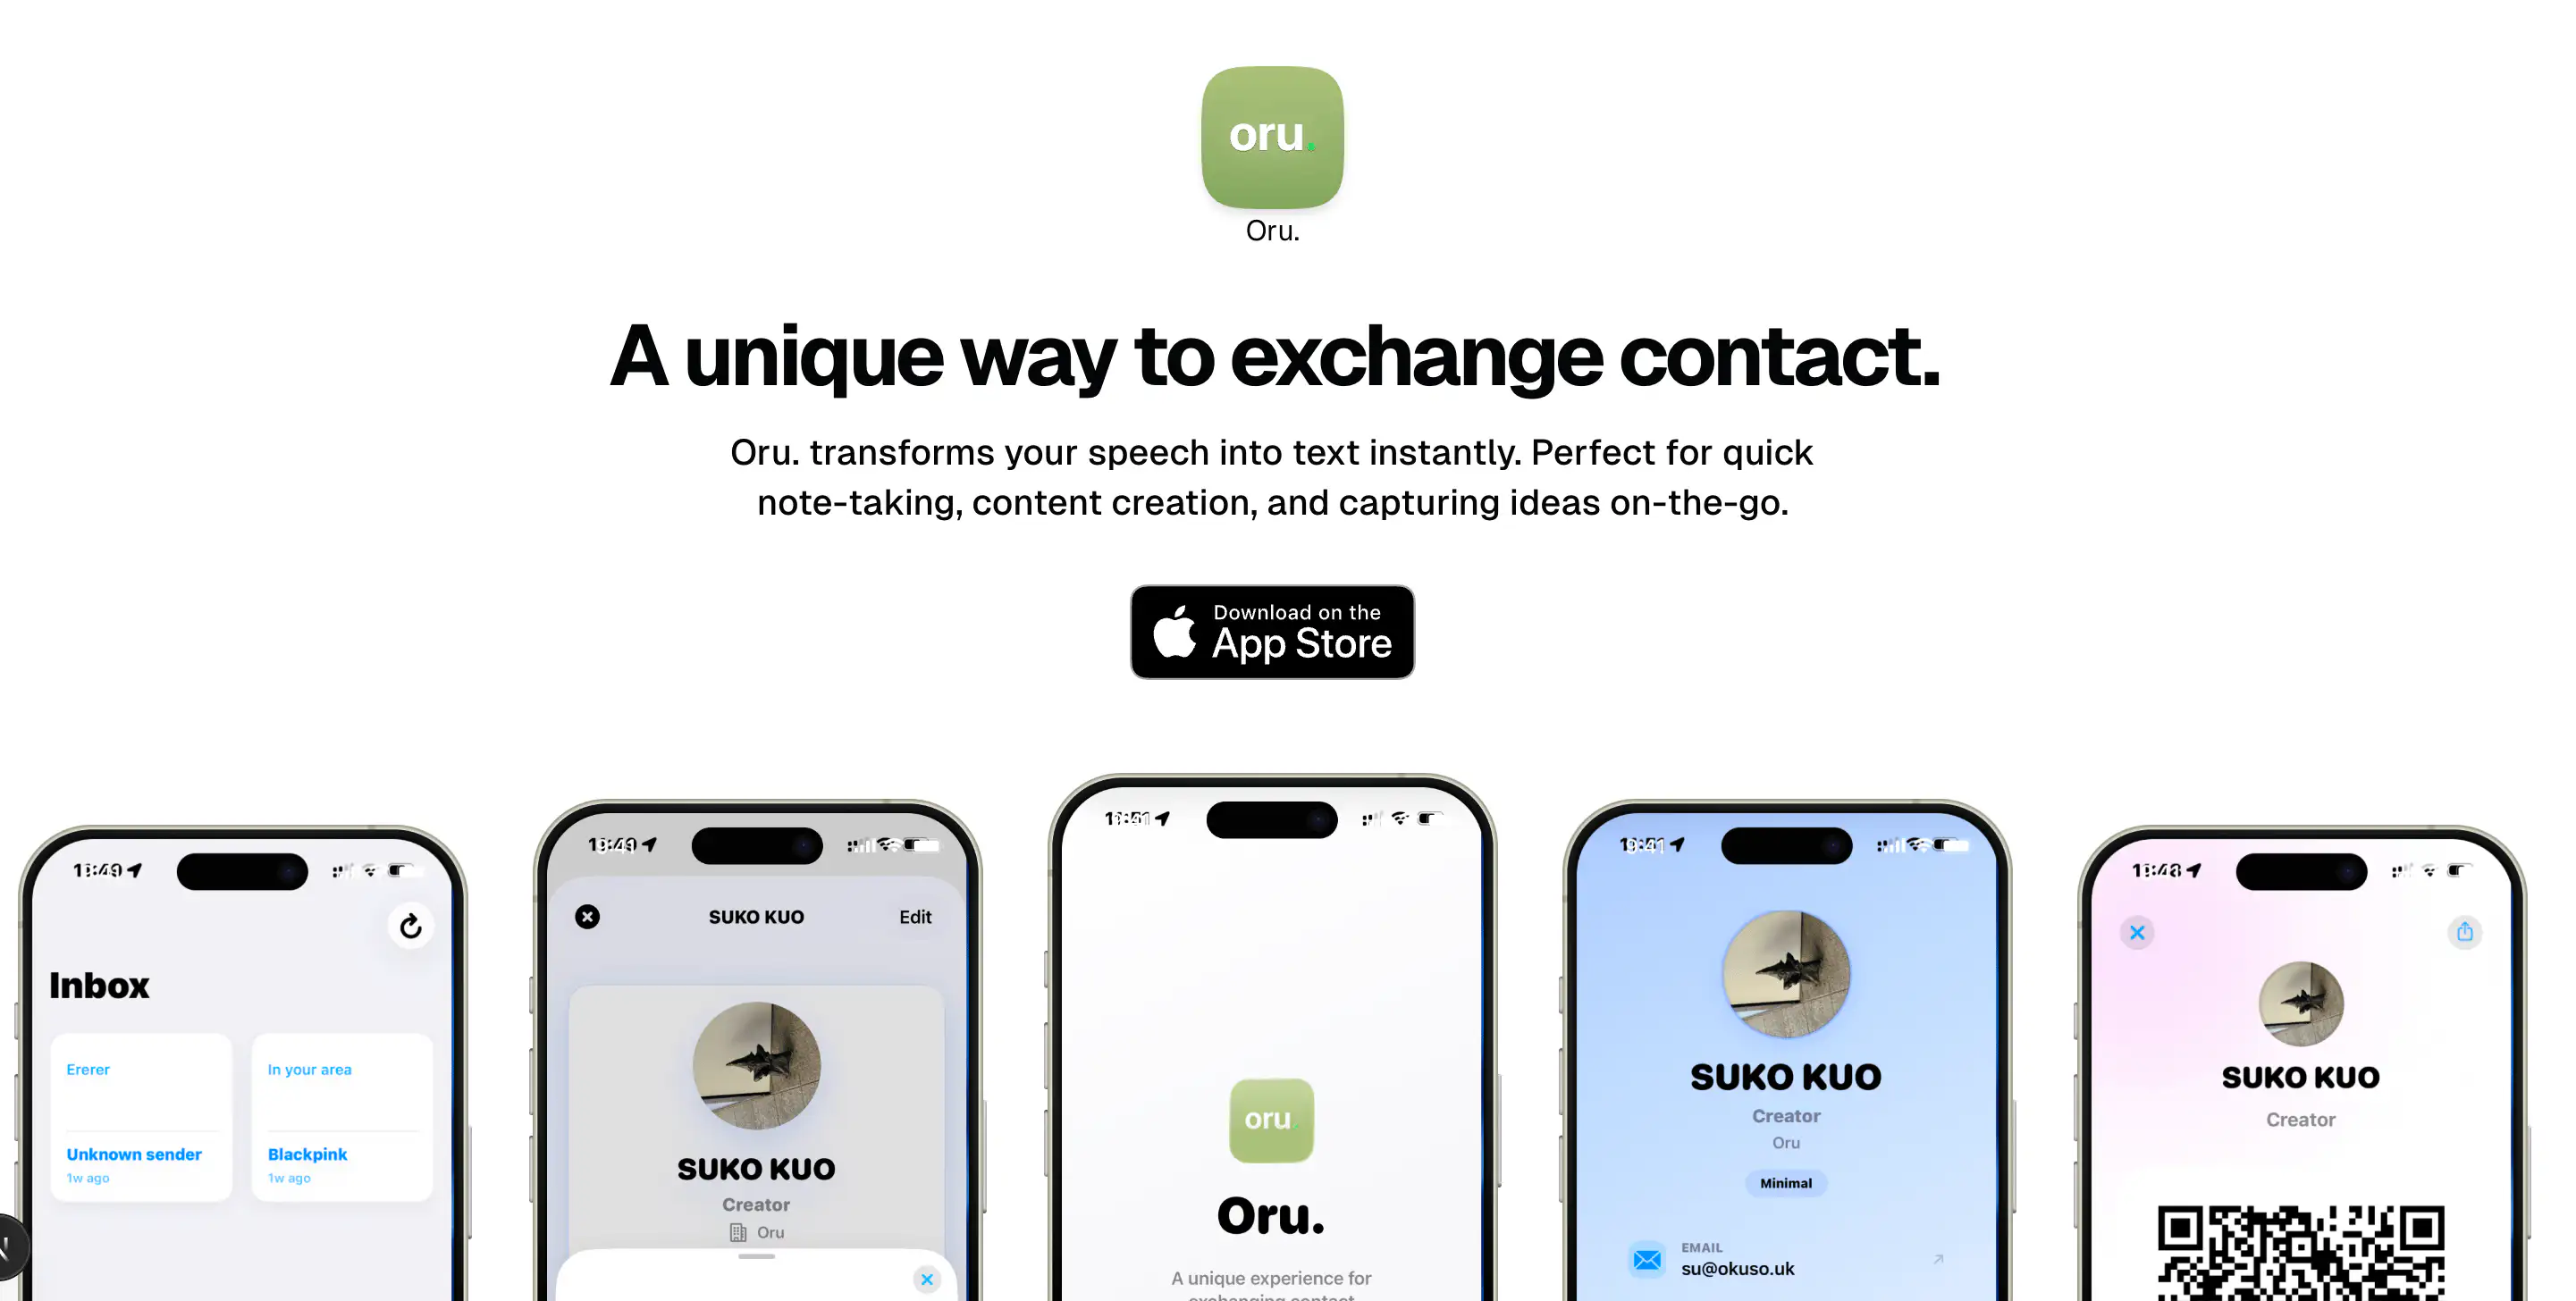
Recently, I finally got my Apple Developer account and decided to build something I've wanted for a while: a digital business card. I call it Oru. It started as a random experiment but turned into a deep dive into the Apple ecosystem, specifically around App Clips and some interesting UI challenges.
In this post, I want to share how I built Oru, specifically focusing on two technical highlights: getting the perfect corner radius using a private API and generating official App Clip Codes on a server.
The Tech Stack
Oru is a hybrid application:
- Backend: Next.js (App Router) handling the API and dynamic generation.
- Frontend/Mobile: SwiftUI for the iOS App and App Clip.
- Database: Turso (SQLite) for lightweight, edge-compatible storage.
The core idea is simple: create a beautiful digital card that can be shared instantly via an App Clip, without the other person needing to install the full app.
The Quest for the Perfect Corner Radius
One of the subtle details in iOS design is matching your UI elements (like bottom sheets or cards) to the device's physical screen corners. Modern iPhones have very specific, continuous rounded corners. Standard cornerRadius often looks slightly "off" when placed against the screen edge.
To solve this, I dug into UIScreen and found a private key that exposes the device's actual display corner radius.
Note: Using private APIs can be risky for App Store approval, but for internal tools or specific use cases (like this slide-over sheet), it provides that pixel-perfect native feel.
Here is the helper I wrote to extract this value:
// Oru/Views/Components/DisplayCornerHelper.swift

import UIKit

struct DisplayCornerHelper {
    static var displayCornerRadiusAdjusted: CGFloat {
        // Accessing the private key "_displayCornerRadius"
        guard let radius = (UIScreen.main.value(forKey: "_displayCornerRadius") as? CGFloat) else {
            // Fallback for devices where the key isn't available
            return 39.0
        }
        // Adjusting slightly for padding/safe areas
        return radius
    }
}
I use this in my custom SlideOverSheet component to ensure the bottom sheet's corners perfectly mirror the iPhone's hardware design:
// Usage in a View
.presentationCornerRadius(DisplayCornerHelper.displayCornerRadiusAdjusted - 8)
This small detail makes the app feel incredibly grounded and "native" to the hardware it runs on.
Generating App Clip Codes without a Public API
The biggest challenge I faced was generating the App Clip Code—that circular, scanable code that instantly launches the App Clip.
Apple provides a command-line tool, AppClipCodeGenerator, but no public web API. If you want to generate these codes dynamically for users (e.g., when they create a new card), you have to run the tool yourself.
Since my backend runs on a environment where I can execute shell commands (and potentially requires macOS for this specific tool), I built a wrapper around the CLI tool.
The Backend Implementation
I created a Next.js API route that:
- Takes a card ID and configuration (colors, type).
- Executes the
AppClipCodeGeneratortool viachild_process. - "Brands" the output SVG by injecting the Oru logo into the center.
Here is how the generation logic looks in route.ts:
// oru-backend-next/src/app/api/cards/[id]/app-clip-code/route.ts

import { exec } from "child_process";
import { promisify } from "util";

const execAsync = promisify(exec);

// ... inside the POST handler

// Build the CLI command
const command = [
  "AppClipCodeGenerator",
  "generate",
  `--type ${type}`,
  `--url "${url}"`,
  `--output "${outputPath}"`,
  `--foreground ${foregroundColor}`,
  `--background ${backgroundColor}`,
].join(" ");

console.log("🎨 Generating App Clip Code:", command);

try {
  // Execute the tool locally
  const { stdout, stderr } = await execAsync(command);

  // Post-process: Inject the Oru logo into the SVG center
  // (Custom branding logic essentially replaces the center group with our logo)
  await brandAppClipSvg(outputPath, oruLogoPath);

  return NextResponse.json({ success: true, url: publicUrl });
} catch (error) {
  // Handle errors (e.g., tool not installed)
}
(Wait, if you're looking at that execAsync and thinking "holy RCE vulnerability, Batman"—you're right. Don't actually do this without massive sanitization unless you want your server to join a botnet. Just kidding... or am I? 😉)
Branding the SVG
The generated SVG from Apple is generic. To make it uniquely "Oru", I wrote a utility brandAppClipSvg that parses the SVG string, finds the center element (usually a badge or icon placeholder), and replaces it with the Oru logo (oru..svg). This involved some Regex magic to swap out the XML tags while preserving the transforms.
const brandAppClipSvg = (appClipSvg: string, oruLogoSvg: string) => {
  let brandedSvg = removeGroupById(appClipSvg, 'Text'); // Remove generic text
  brandedSvg = removeElementById(brandedSvg, 'Badge');  // Remove default badge

  // Inject our logo
  brandedSvg = brandedSvg.replace(
    /(<g id="Logo"[^>]*>)[
\s]*?(<\/g>)/,
    (_, openTag, closeTag) => {
      return `${openTag}\n${myLogoContent}\n${closeTag}`;
    }
  );
  return brandedSvg;
};
Setup & Local Development
To set up the Oru ecosystem locally:
-
Backend:
- Clone
oru-backend-next. - Run
pnpm install. - Set up your
.envwith Turso and Auth details. - Ensure
AppClipCodeGeneratoris in your PATH (requires macOS + Xcode CLI tools).
- Clone
-
iOS App:
- Open
Oru.xcodeprojin Xcode. - Update the
AppClip.entitlementswith your domain. - Run the
Orutarget for the full app orOruClipto test the Clip experience.
- Open
Conclusion
Building Oru was a fantastic way to explore the edges of the Apple development ecosystem. While SwiftUI handles the heavy lifting of the UI, stepping outside the standard path—hacking UIScreen for better aesthetics and wrapping a CLI tool in a Node.js API—allowed me to create a product that feels both polished and powerful.
If you're building App Clips, don't be afraid to build your own tooling around Apple's utilities. It opens up possibilities that standard APIs just don't offer.